Miscellaneous
Creating custom forms
Section titled “Creating custom forms”Nixe has a built-in contact form. You can add it with a shortcode or as a WPBakery Page Builder element. For a customised contact form or a newsletter signup form, use the free Contact Form 7 plugin. How to install it and build forms is in Contact Form 7.
Sample booking and newsletter forms
Section titled “Sample booking and newsletter forms”Nixe comes with sample booking and newsletter forms for Contact Form 7.
- Install the Contact Form 7 plugin.
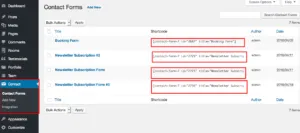
- Import the sample forms with Tools › Import › WordPress. The file is
nixe.forms.xml, in theDummy Contents/Formsfolder of the All files and documentation package, with one copy per demo. You download the package from the Downloads page of your ThemeForest account. If you used the theme’s Demo Import tool, the sample forms may already be imported. - Edit the forms and update their mail settings, such as From, To and the sender name.
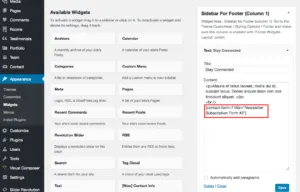
- Paste the shortcode of one of the newsletter forms into a widget, for example a Shortcode block in a footer widget area.
Creating a one-page design
Section titled “Creating a one-page design”A one-page design takes two steps:
- Create a page whose content rows have unique IDs.
- Create a navigation menu that links to those IDs.
Creating the page
Section titled “Creating the page”We recommend WPBakery Page Builder for this, because it makes the page much easier to manage.
-
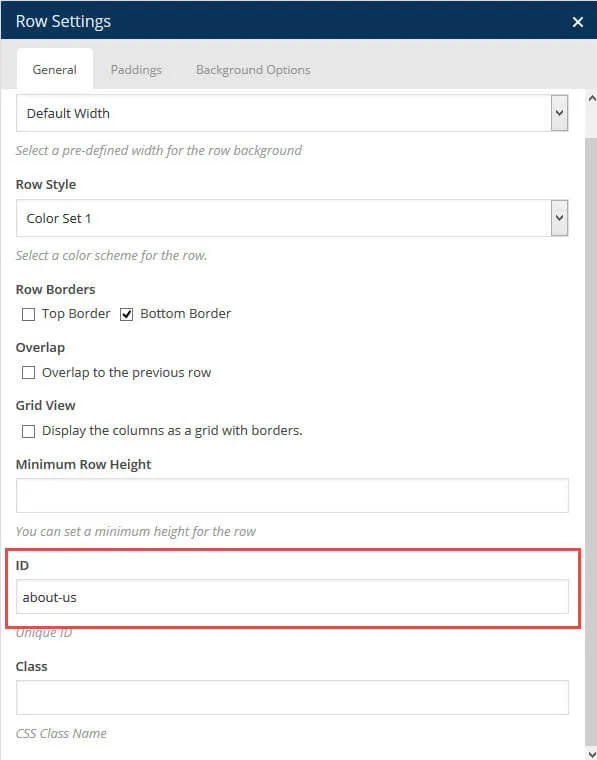
Split your content into several rows. Give each row you want to scroll to its own row ID in the row settings.
-
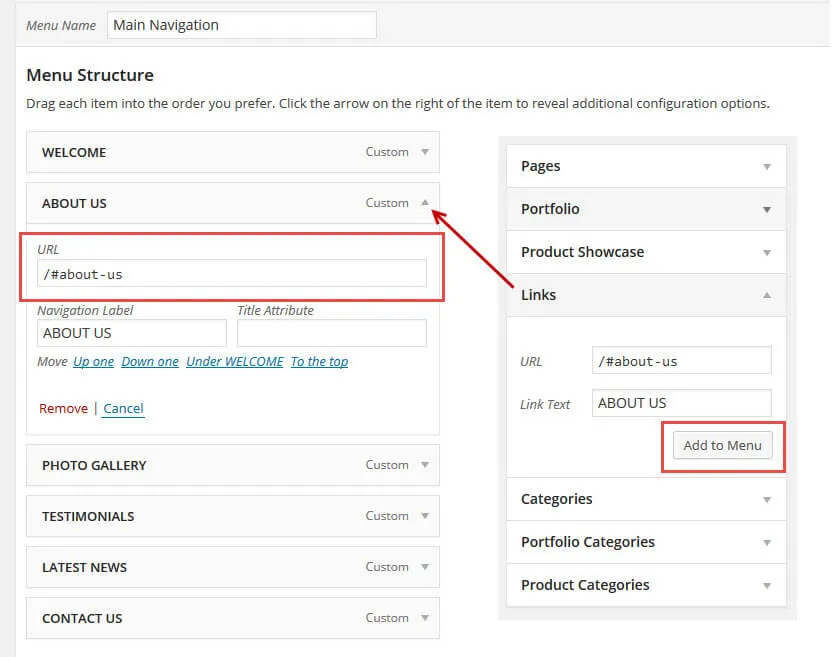
Create your menu and add a Custom Links item that links to the row ID, for example
#rooms.