
Setup Wizard
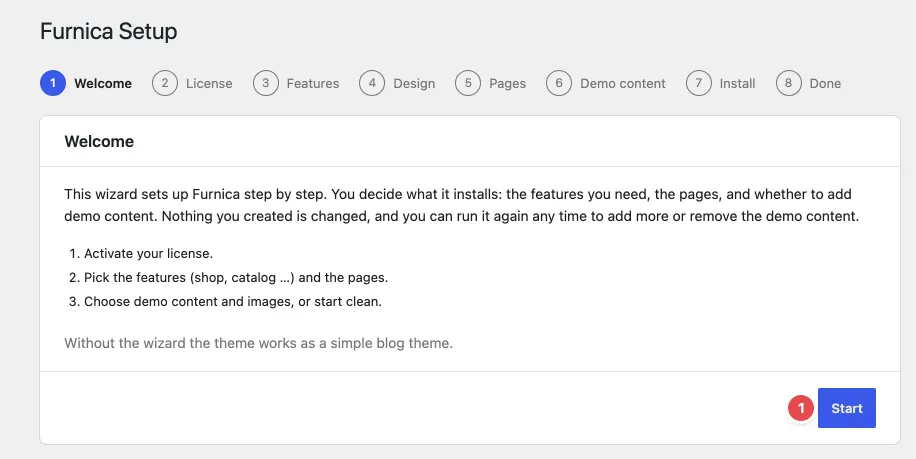
The setup wizard builds your site from Furnica’s pieces. It is not a one-click demo import: you choose the features, the pages and whether to add demo content, and you can come back any time to add more. It never changes content you created.
Open it from RT-Themes › Setup. It opens once by itself after you activate the theme.
The steps
Section titled “The steps”1. Welcome
Section titled “1. Welcome”What the wizard will do. Click Start (1).
2. License
Section titled “2. License”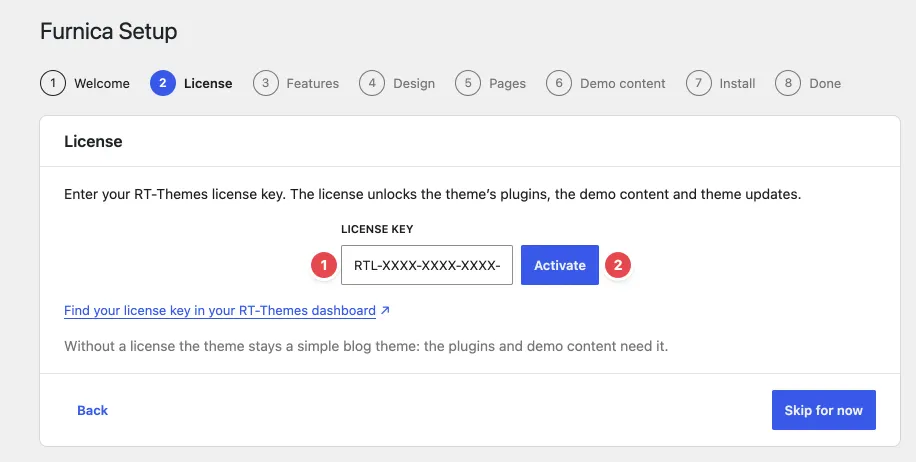
Enter your RTL- licence key (1) and click Activate (2) (see Installation and Licence). The licence unlocks the theme’s plugins, the demo content and theme updates.
You can click Skip for now. Without a licence the wizard ends here and Furnica stays a simple blog theme.
3. Features
Section titled “3. Features”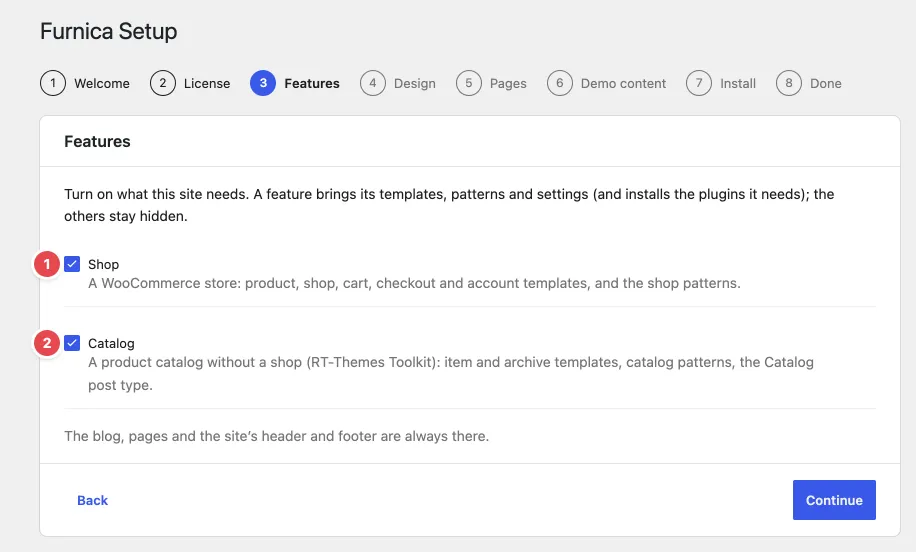
Turn on what this site needs. A feature brings its templates, patterns and settings, and installs the plugins it needs. Features you leave off stay hidden.
| Feature | What it adds |
|---|---|
| Shop (1) | A WooCommerce store: shop, product, cart, checkout and account templates and the shop patterns. Installs WooCommerce and creates its pages. |
| Catalog (2) | A product catalog without a shop: the Catalog post type with its fields, item and archive templates and catalog patterns. See Catalog and Custom Fields. |
The blog, pages and the site’s header and footer are always there.
4. Design
Section titled “4. Design”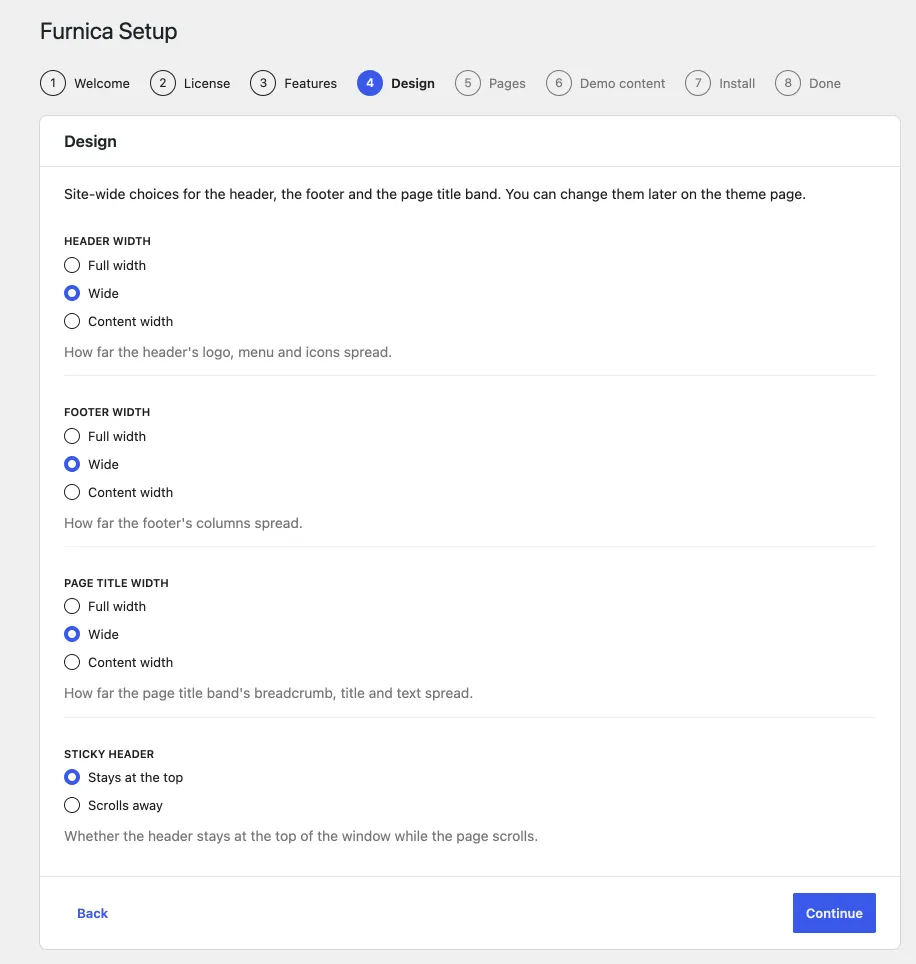
Site-wide choices for the header, the footer and the page title band: their width (Full width, Wide, Content width) and whether the header stays at the top while scrolling. You can change them later on RT-Themes › Furnica › Design. See Header and Footer.
5. Pages
Section titled “5. Pages”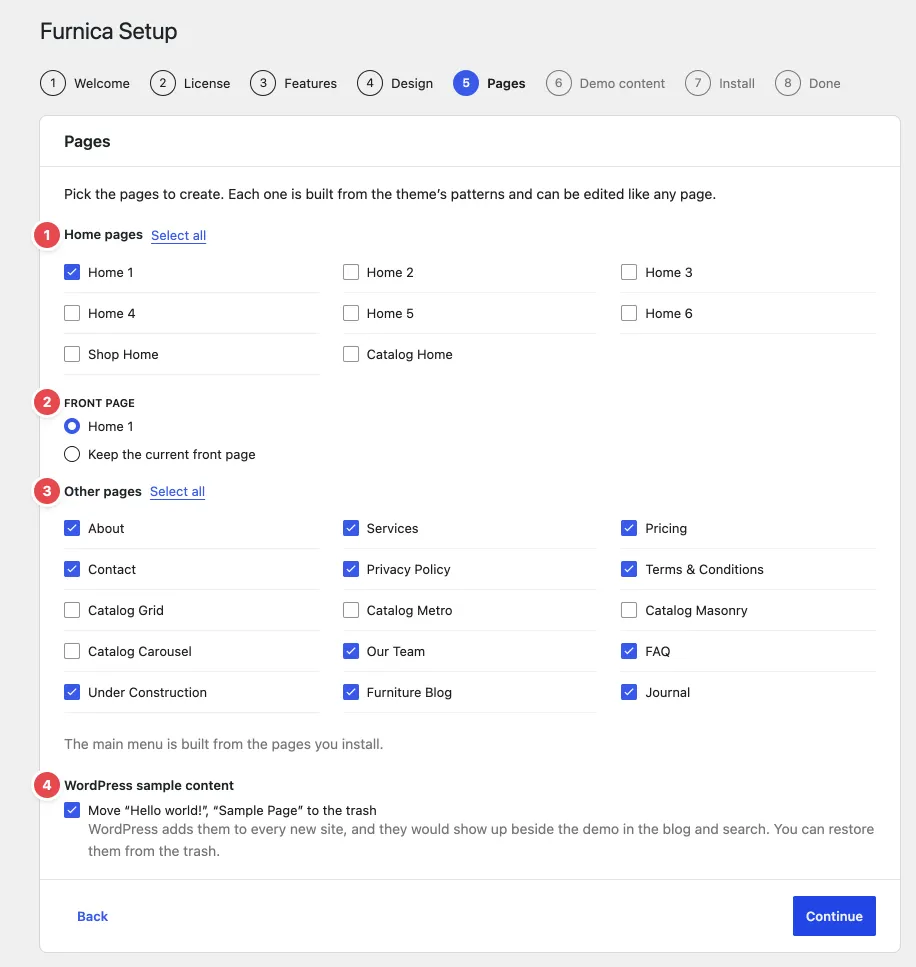
Pick the pages to create. Each one is built from Furnica’s page patterns and can be edited like any page.
- Home pages (1): Home 1 to Home 6, and Shop Home or Catalog Home when those features are on. Under Front page (2), choose which one opens your site, or Keep the current front page.
- Other pages (3): About, Services, Pricing, Contact, Privacy Policy, Terms & Conditions, Our Team, FAQ, Under Construction, the blog pages (Furniture Blog, Journal), and the catalog pages (Catalog Grid, Metro, Masonry, Carousel) when Catalog is on.
Select all ticks every page of a group. The main menu is built from the pages you install. Pages the wizard installed before are ticked and locked.
WordPress sample content (4) moves the “Hello world!” post and the “Sample Page” WordPress adds to every new site to the trash, so they don’t show up beside the demo in the blog and search. You can restore them from the trash.
6. Demo content
Section titled “6. Demo content”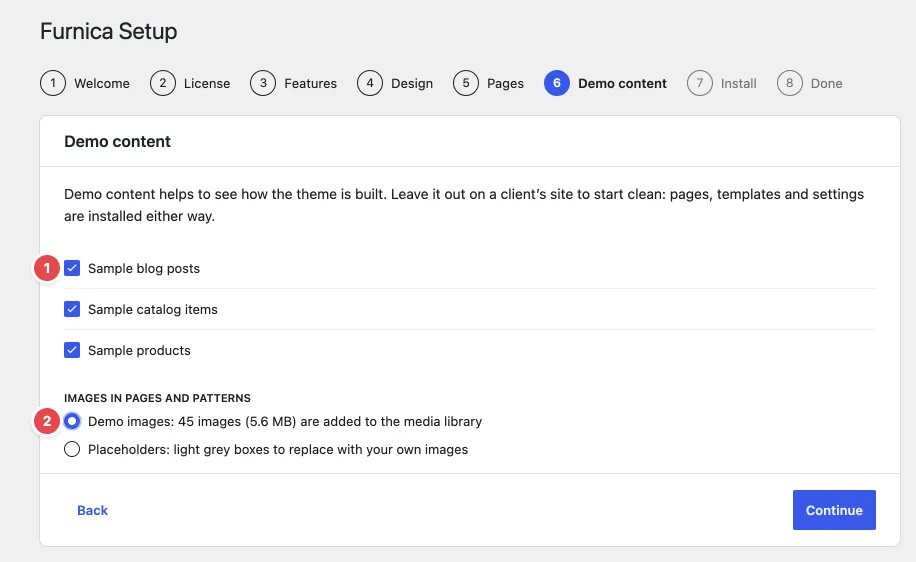
Demo content helps you see how the theme is built. Pick the sets you want (1):
- Sample blog posts
- Sample products (with Shop)
- Sample catalog items (with Catalog)
Then choose the images under Images in pages and patterns (2):
- Demo images: the photos (the step shows how many and how large) are downloaded once from RT-Themes’ image server into your media library. Pages and patterns use them too.
- Placeholders: light grey boxes to replace with your own images.
On a client’s site, leave the demo content out to start clean. Pages, templates and settings are installed either way.
7. Install
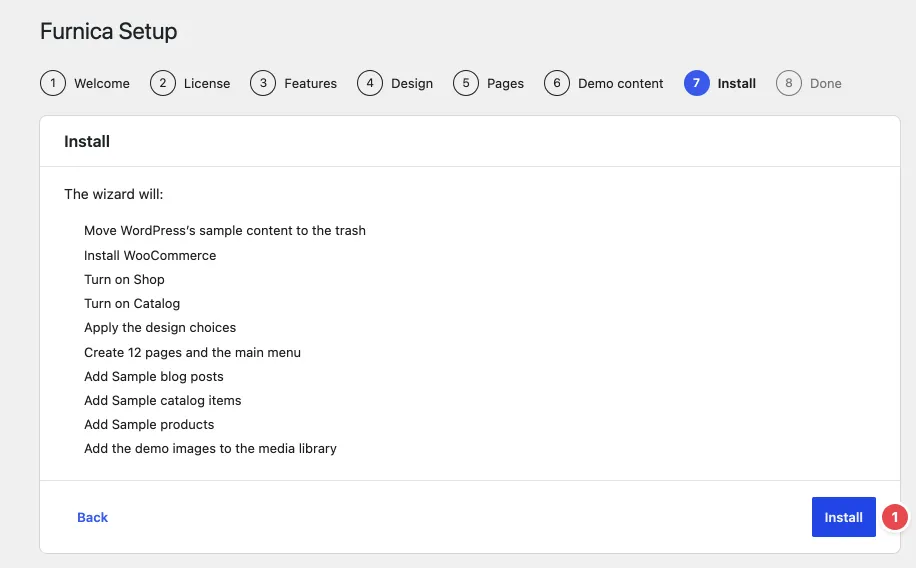
Section titled “7. Install”The step lists what the wizard will do: install plugins, turn on features, apply the design choices, create the pages and the main menu, add the demo content and images. Check it, then click Install (1).
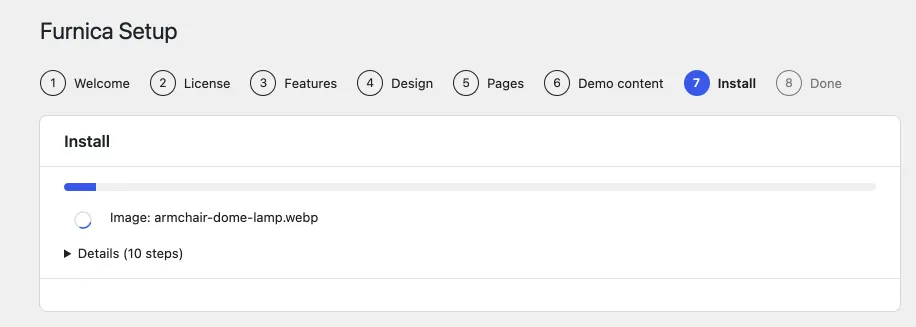
The wizard installs the missing plugins first, then the rest one step at a time with a progress bar. Open Details to see every step. A failed step does not stop the others. Keep the window open until it is done, then click Finish.
8. Done
Section titled “8. Done”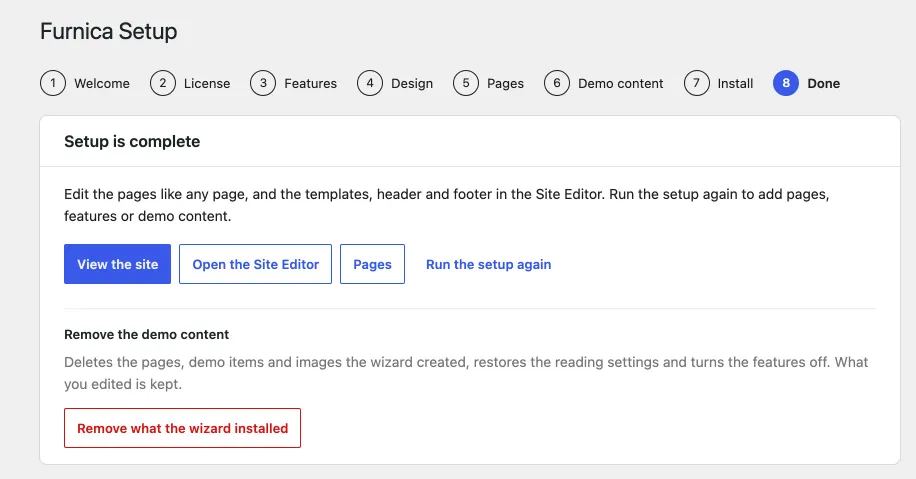
Setup is complete, with links to your site (View the site), Open the Site Editor and Pages. Edit the pages like any page, and the templates, header and footer in the Site Editor.
Run it again
Section titled “Run it again”Open RT-Themes › Setup again. Because the setup is complete, it opens on the Done step:
- Run the setup again to add features, pages or demo content. Nothing is installed twice.
- Remove what the wizard installed (under Remove the demo content) deletes the pages, demo items and images the wizard created, restores the reading settings and turns the features off. Pages, items and images you edited since are kept.
If something goes wrong
Section titled “If something goes wrong”- A step failed during Install: open Details to see which one, then run the setup again. It continues with what is missing.
- The images are grey boxes: you chose placeholders, or the image download failed. Run the setup again and pick Demo images.
- The wizard stops at License: see FAQ and Troubleshooting.